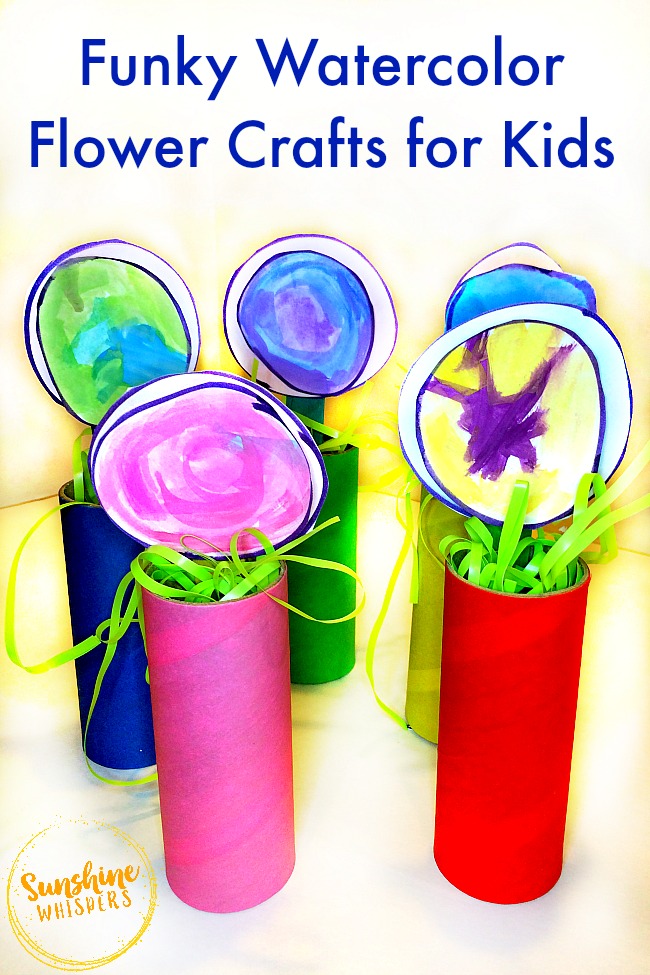
Funky Watercolor Flower Crafts for Kids
Are you great with gardening? Or, are you like me– the messenger of death for any and all plants that cross your path? Well, don’t let your lack of gardening skills doom you to a house with no flowers! Check out these funky and whimsical watercolor flower crafts for kids. Aren’t they adorable? Well, I will give you a hint.. they were super fun to make, and hardly messy at all. We didn’t even wear a smock!
Funky Watercolor Flower Crafts for Kids
Affiliate links included for your convenience.
Materials Needed:
- Paper tube rolls. I purchased them already covered with brightly colored paper, but you could just recycle TP rolls and cover them yourself.
- White cardstock

- Dark colored marker or sharpie.
- Multi-colored jumbo craft sticks (1 stick per flower)
- Watercolors
- Chalks (optional)
- Cotton balls
- Craft glue
- Easter basket grass (I know you have some leftover from last month!)
- Scissors
How to Make the Flowers:
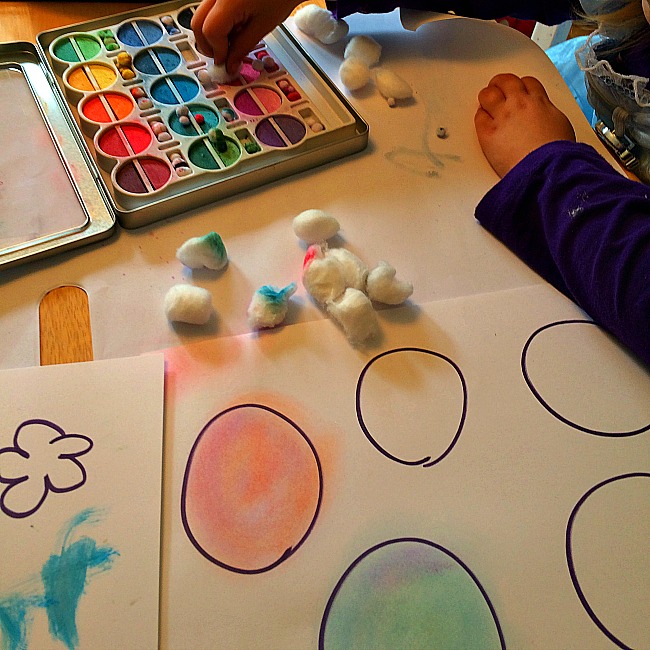
- We decided to make these flowers funky.. like something you would see in a Dr. Suess book. So, I just drew circles of various sizes on the cardstock. The circles are not supposed to be perfect so don’t stress about that. If your kids have learned to draw circles they could even do it.
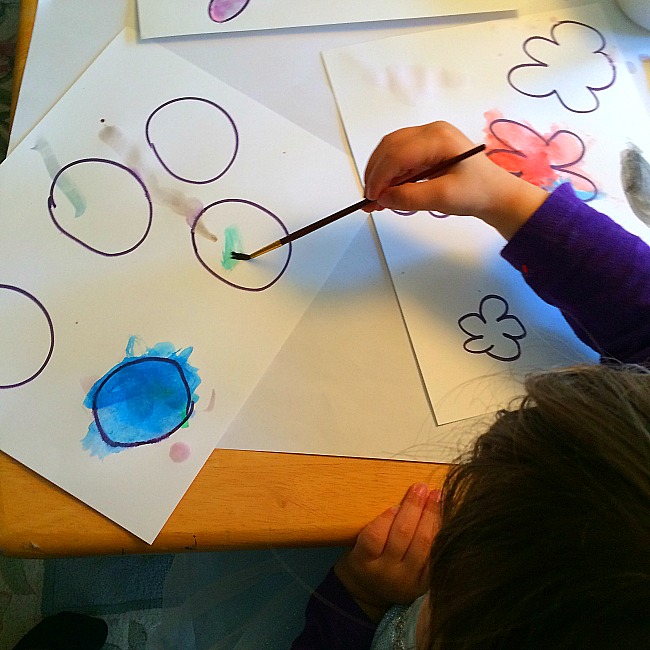
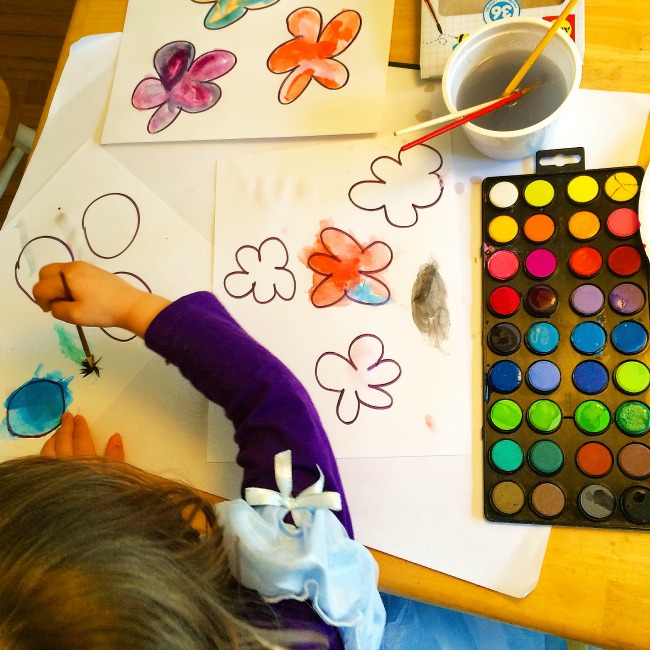
- Sweet Pea had never used watercolors at home before (I know she has at school though). I had made three or four sheet of circles and flower petals (for another craft) and we created them together. While we painted, I talked with her about the different colors and how they complement each other. We also talked about making patterns like swirls, blotches (her favorite), dots, lines, etc… It was an easy way to make something fun, experiment a bit, and not get terribly messy.
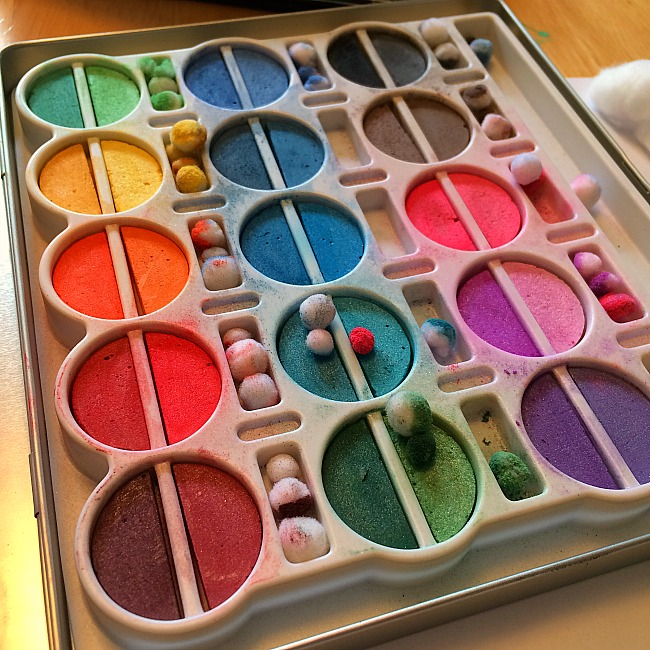
- Just to mix it up, we also tried a new crafting technique– I broke out some chalks I had on hand from my paper crafting hobby, and we used cotton balls to color in a few of the shapes as well.
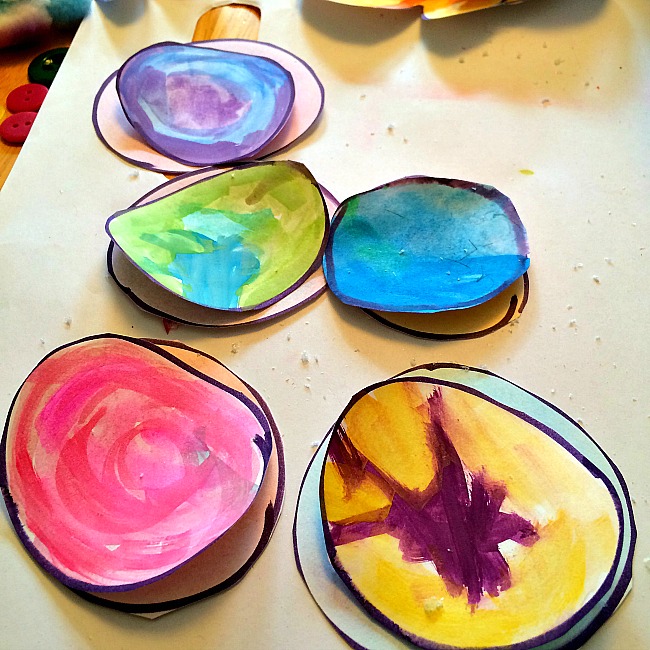
- The watercolor dries pretty quickly. Once the paint dries, cut out the circles. For effect, keep the thick marker line visible as a flower outline.
- Sort the circles into a big circle and small circle pile and then pair up big and small circles.
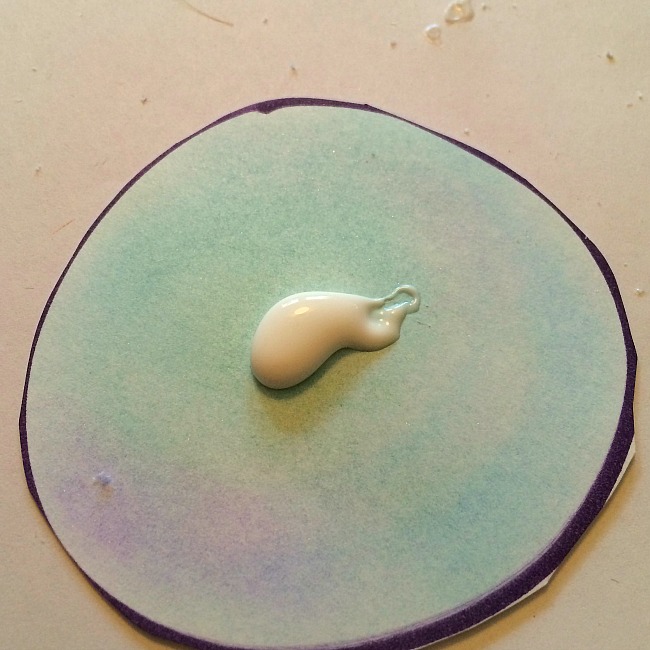
- Squeeze a dab of glue onto the middle of the larger circle and stick the smaller circle on top so that the middle is glued on, but the edges curl up.
- Glue a craft sick to the back of the circle flowers.
- If you are able to find the pre-paper’d toilet paper rolls, your vase is complete. Click here for instructions on how to wrap the toilet paper roll in cardstock yourself.
- To ‘pot’ these flowers into their vase, scrunch up a scrap of leftover cardstock and stick it in the bottom of the toilet paper roll. Then, fill the toilet paper roll with a handful of the Easter basket grass.
- Stick the flower into the vase and there you have it– a pretty and whimsical bouquet of flowers!
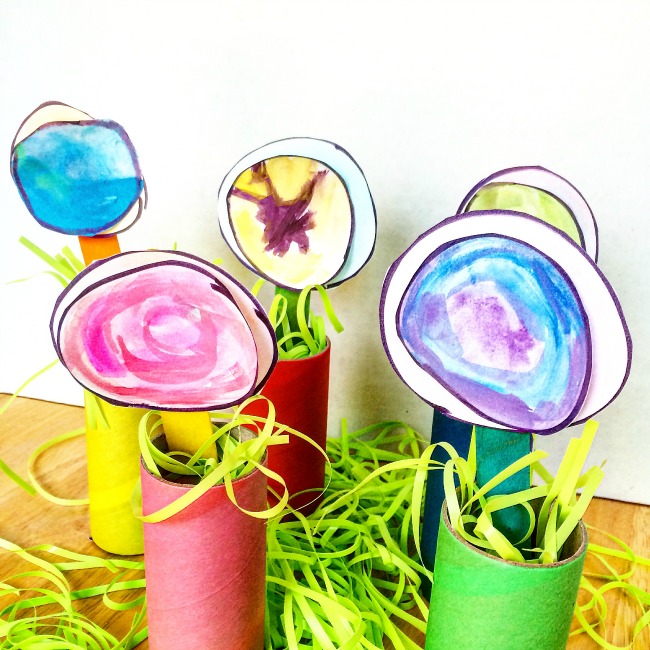
Aren’t these flowers adorable? They would also make a great Mother’s Day gift or teacher appreciation gift.
Thanks for stopping by today and have a great week!
Sara
Don’t forget to sign up for my weekly newsletter so you don’t miss any of these cute craft and activity ideas!
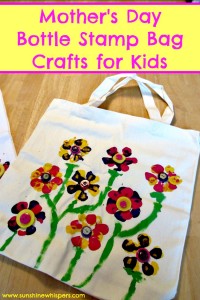
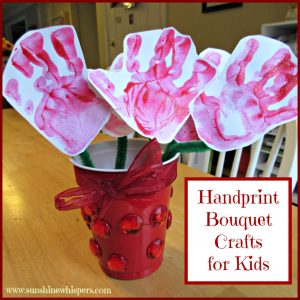
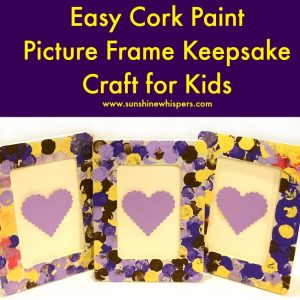
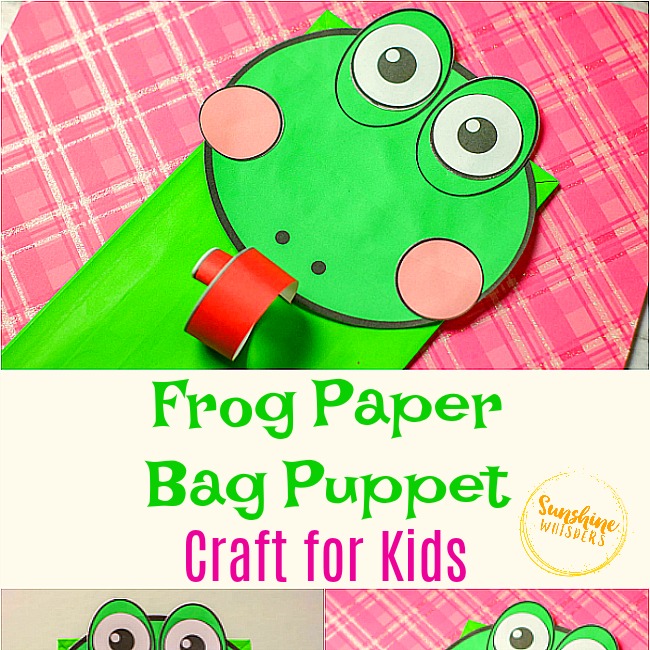
In the meantime, if you like this craft, check out these Mother’s Day craft ideas as well!
Love this garden! Maybe I should make a few for my garden…would be nice to have shining in my window sill in the winter!