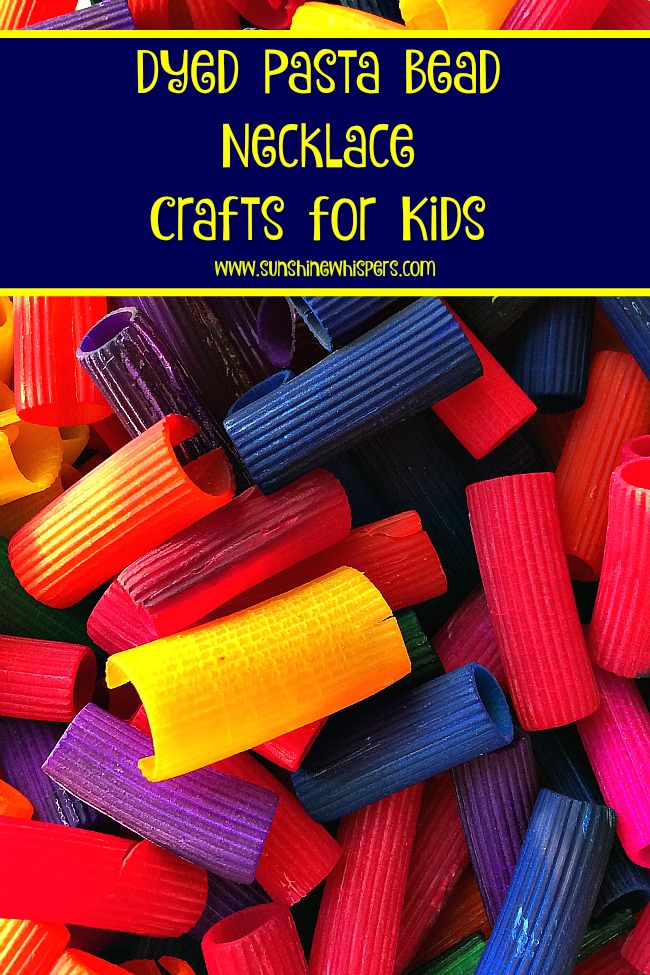
Dyed Pasta Bead Necklace Crafts for Kids
Today I am so excited to be participating in the Kid-made Gifts Series. With the holidays just around the corner, have you thought about gifts that even your young kids could make? Well, Sweet Pea and I had a great time making dyed pasta bead necklaces recently… and you know what? She actually did most of the work. Pasta Bead Necklace Crafts for Kids are so much fun to create and really quite cute! Read on to find out how to make them.
Dyed Pasta Bead Necklace Crafts for Kids
Affiliate links included for your convenience.
What you will need to make the necklaces:
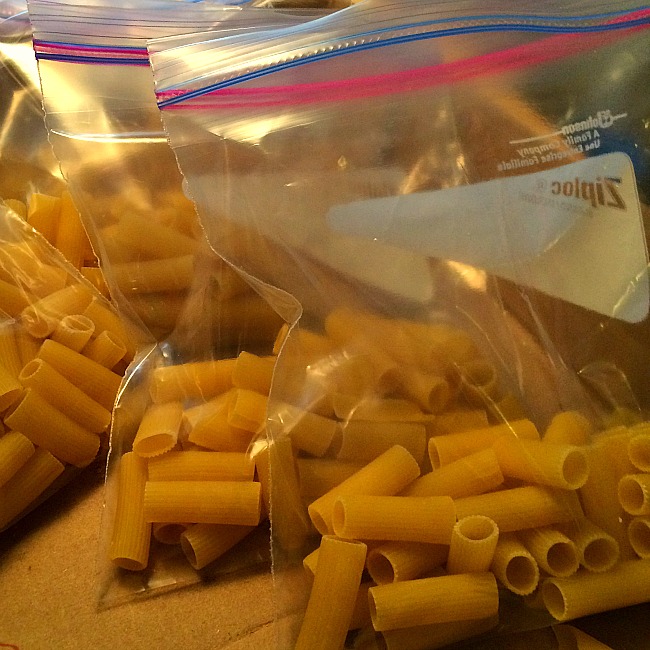
- 1 box of tube pasta (rigatoni or penne)
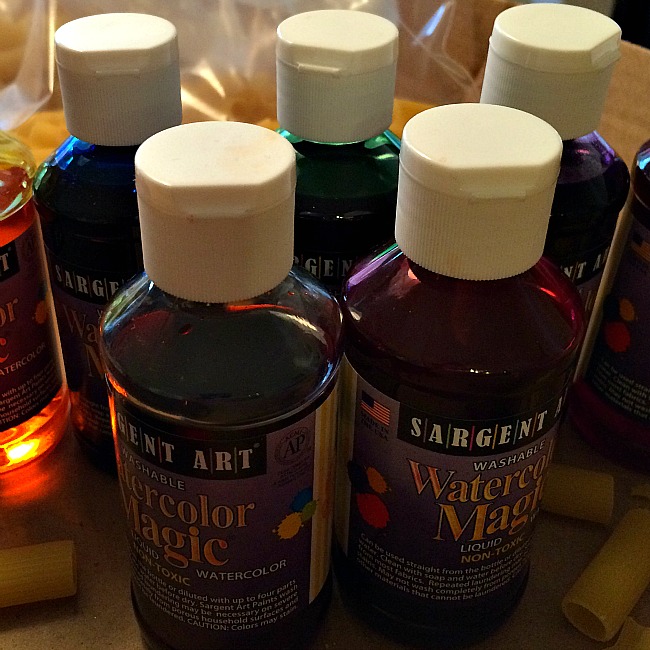
- Liquid Watercolors

- Rubbing alcohol
- Quart-sized Ziploc bags
- Parchment paper
- cookie sheet
- slotted spoon
- yarn or string
- small pieces of cardstock, foam, or felt
- scissors
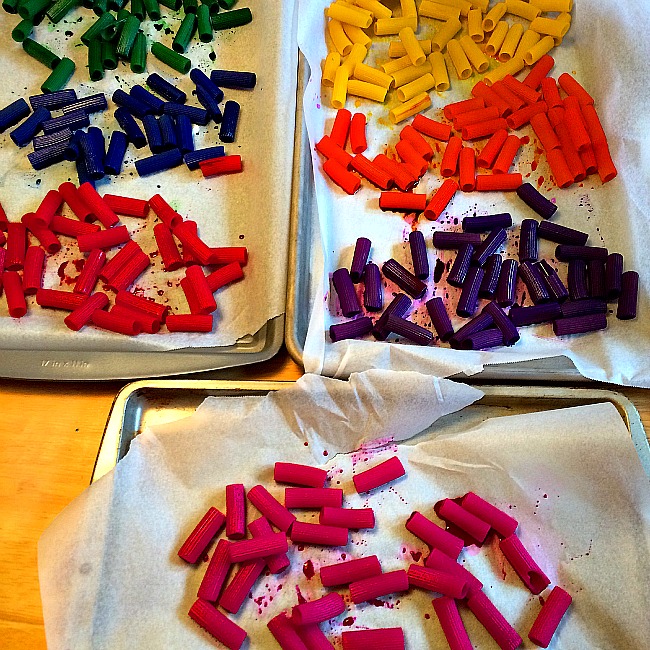
Part One: Dye the Pasta!
- We recently learned how to dye pasta and have had so much fun trying out this great arts and crafts technique. For the basics on how to dye your own pasta, check out The Artful Parent’s tutorial here.
- Of course, we learned a few of our own tips along the way like:
- double bag the Ziploc bags before you shake the liquid watercolors so that you don’t get watercolor everywhere.
- Use a slotted spoon to scoop the pasta beads out of the bags and onto a cookie sheet lined with parchment paper for drying. You may need more than one cookie sheet so that your dyed pasta beads can dry in a single layer.
- Sweet Pea was actually able to do most of the work for this part of the craft.
- She scooped the pasta into each of the bags
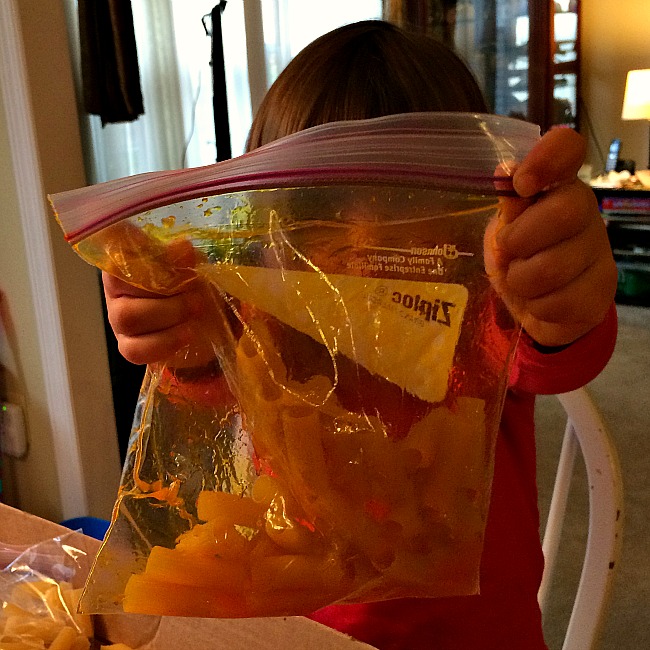
- She held the bag open while I squirted the liquid watercolor in (yeah, I am not crazy.. she is 3 years old. There was no way I was giving her control of the liquid watercolor!)
- Once I sealed the bag, she shook each of the bags to distribute the color.
Part Two: String the Beads to Make Necklaces
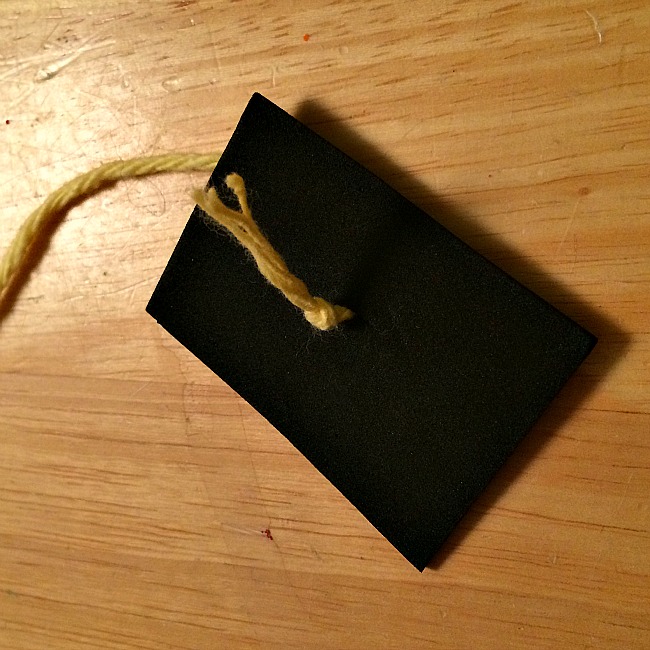
- This part of the craft was just as much fun as dying the pasta beads. To make it easier to thread the beads and give Sweet Pea more crafting independence, I cut a slit in a very small square of craft foam (you could use cardstock, felt, or any other sturdy material), threaded a piece of yarn through the hole, and knotted it. This was not part of the necklace. It was just there to help Sweet Pea make the necklace without the beads falling off the other end.
- To begin, Sweet Pea helped me sort the beads by color into individual bowls. You don’t really need to do this step but it was a fun and simple sorting activity.
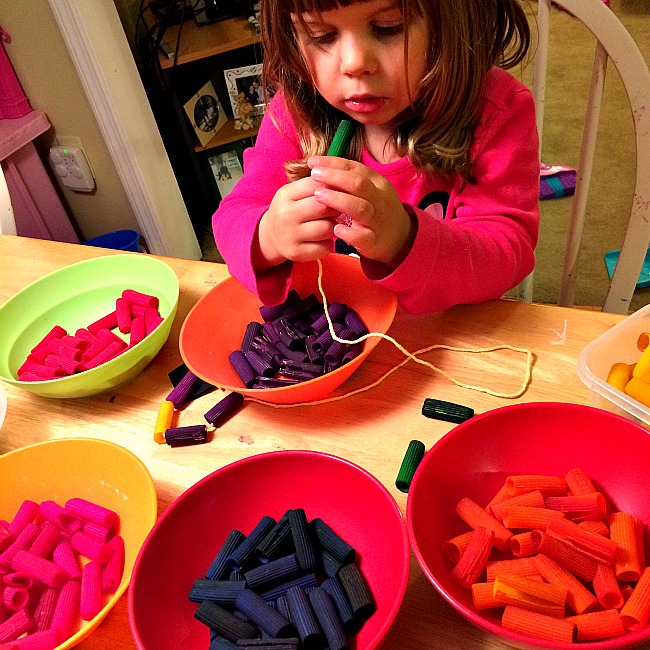
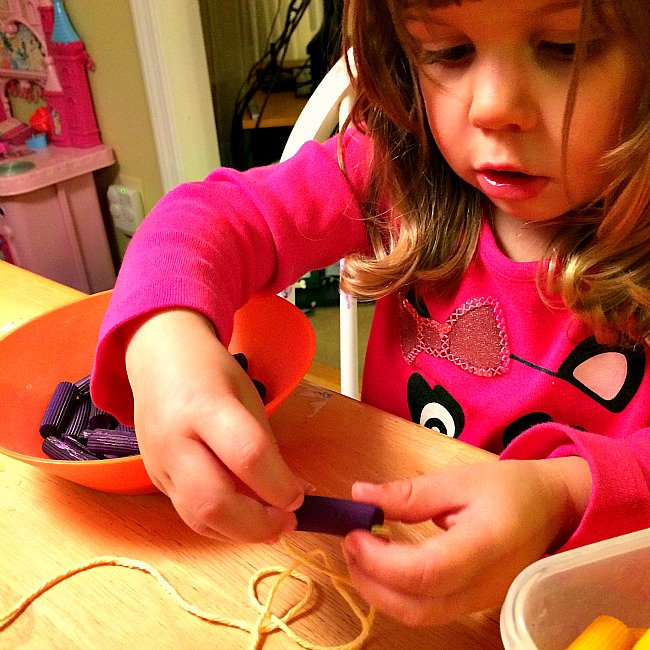
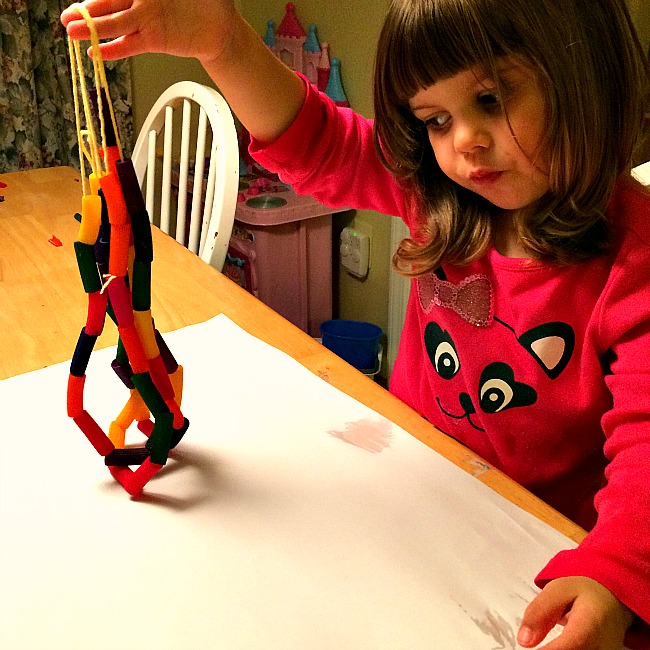
- Then, I showed Sweet Pea how to thread the bead onto the yarn. I could tell this was a challenge for her but honestly, she got it. Not only that, every time the yarn poked through the other end of the bead she got the biggest smile of accomplishment on her face. It was awesome to watch her learn a new skill!

- Sweet Pea picked the colors and it took about 15 beads to make a necklace.
- This is a super simple craft. To secure the necklace, I manipulated the beads until there was an even length of yarn on both ends, and then snipped the excess yarn (along with the craft foam anchor).
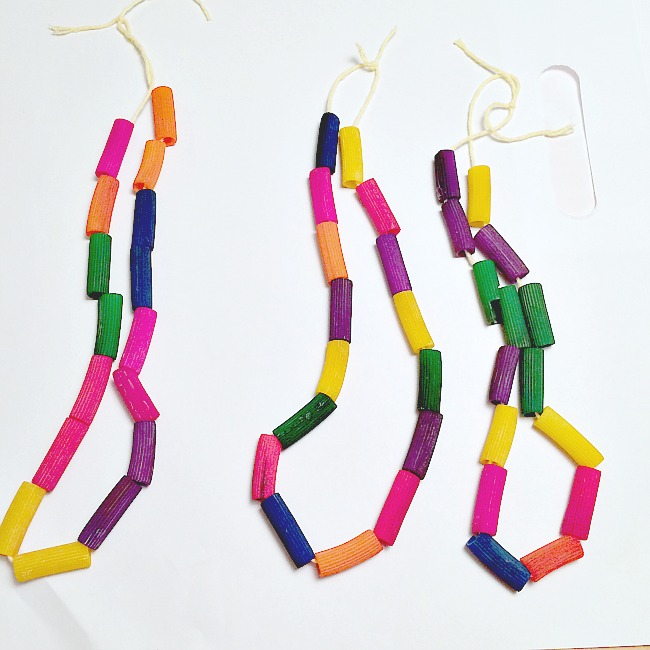
- To finish the craft, I just tied a simple knot and hung it around her neck. We made three of these necklaces, and have plenty of beads left over for more. Sweet Pea is already making a list of friends and loved ones she wants to give the necklaces to.
Isn’t that a sweet craft?
For more kid-made gift inspiration, check out the rest of the crafts in the series here. A great start would be the super cute kid-made cushion covers from Play and Learn Everyday.

Thanks for stopping by today and I hope you have a blast creating gifts with your kids!
Sara
Lovely gift!
Thanks for participating!
The recipients of her necklace gift will be so surprised!